Web simulator
FrSky's browser simulator runs the real Ethos firmware compiled to WebAssembly, so there's nothing to install. Chrome is recommended.
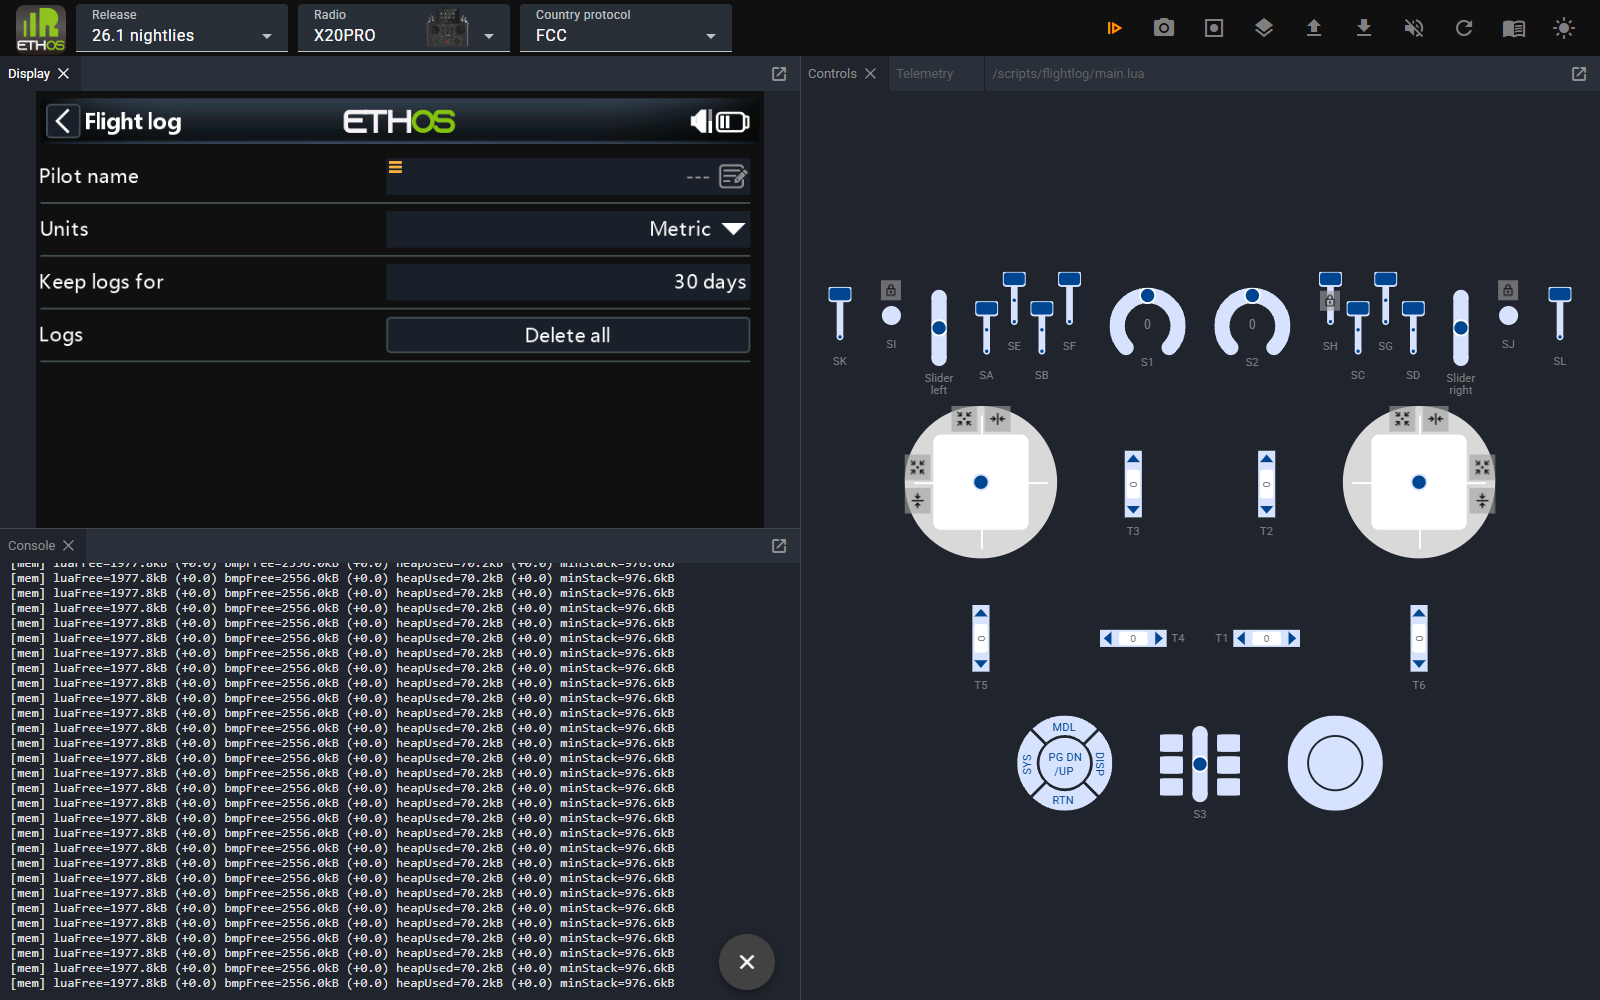
You pick the Ethos release, the radio and the RF protocol, and get the radio's screen, its controls, and optional panels such as the Console and Telemetry.
Screenshots on this page are from the web simulator running Ethos 26.1.3 ("26.1 nightlies") on an X20PRO, with two cookbook scripts installed: the memory monitor task and the system tool.
A fresh simulator starts like a new radio: a language prompt, a "default system settings restored" notice and the model wizard. Click through them once; the simulated SD card is kept in the browser, so later sessions boot straight to the home screen.
Running your script
- Zip your script. Include an
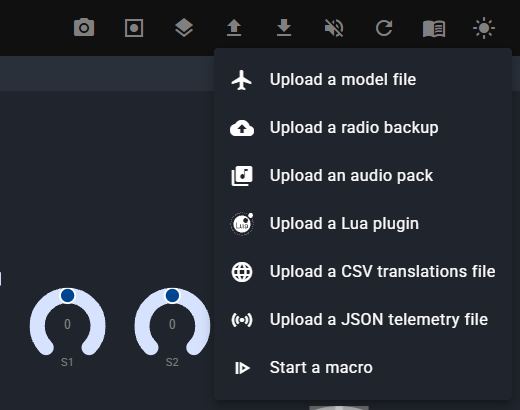
ethos_lua_manifest.jsonat the root; it's the package format Ethos installers understand. - Upload → Upload a Lua plugin.
- If your script doesn't show up straight away, use the toolbar's Restart. Scripts are loaded at boot. Your widget, tool or task is then available as on a radio.
Put your files in a folder inside the zip
The web simulator unzips the package into SCRIPTS: exactly as it is laid out; it does not apply the manifest's folder. A zip with main.lua at its root ends up as SCRIPTS:/main.lua. Put the files in a folder named after folder (myscript/main.lua, with "files": ["myscript/**"]). FrSky Suite strips that leading folder name on install, so the same zip works in both. Verified in the web simulator (Ethos 26.1.3) with the Code explorer panel.
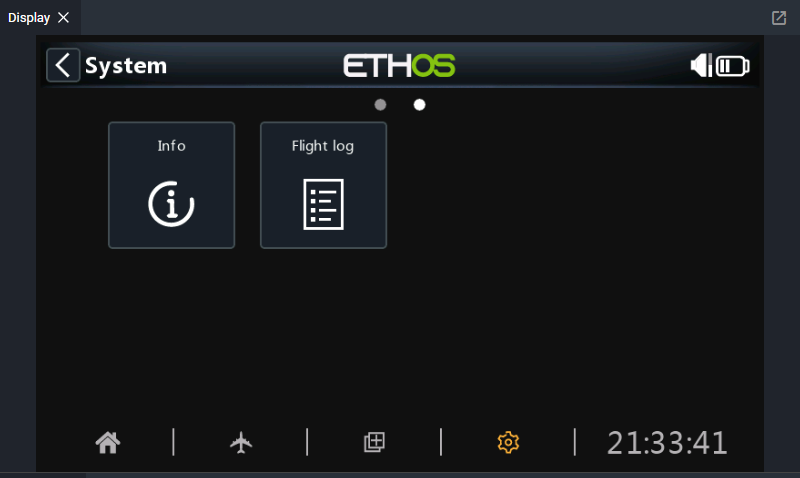
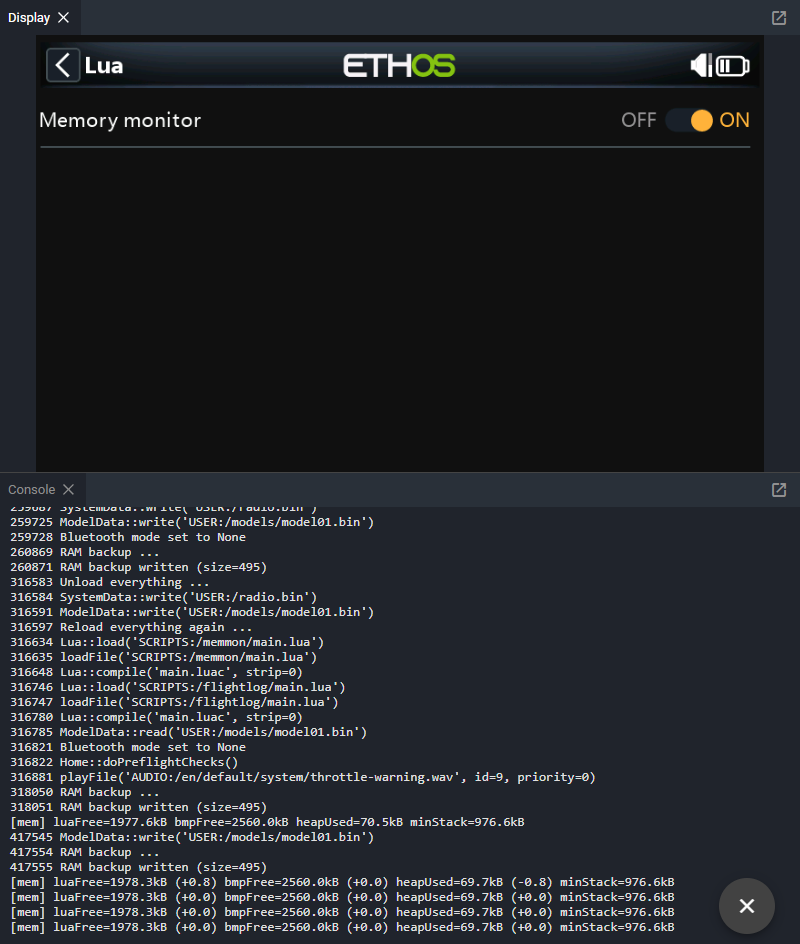
Installed tools appear in the System menu, widgets in the widget picker. A task also has to be switched on under Model → Lua.
To start from your real setup instead of a blank radio, make a backup in FrSky Suite and use Upload → Upload a radio backup. You get your models, screens and scripts.
Panels worth opening
Open panels from the toolbar's Panels button. Drag a panel's tab to dock it beside or below another; the layout is remembered by the browser.
| Panel | Why |
|---|---|
| Debug console | Boot log, print() output and Lua errors. Dock it below the display so long lines are readable. Open it before anything else when developing |
| Telemetry | Add simulated sensors (Add a new sensor) and set their values, so telemetry widgets have data. Save the set with Download → Save telemetry settings and restore it later with Upload → Upload a JSON telemetry file |
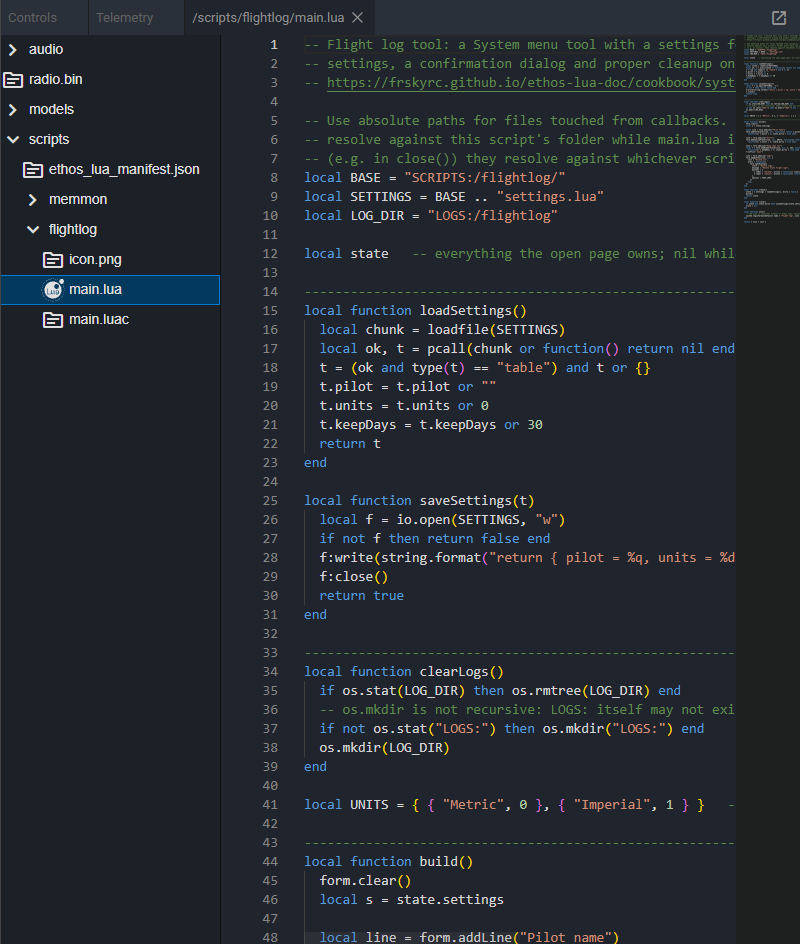
| Code explorer | Browse the simulated SD card (scripts/, models/, audio/) and view files, including what an upload actually installed |
| Controls | Open by default. Sticks, switches, pots and trims. Gimbals can be locked to one axis or set to auto-centre, and momentary switches can be latched, which helps when testing |
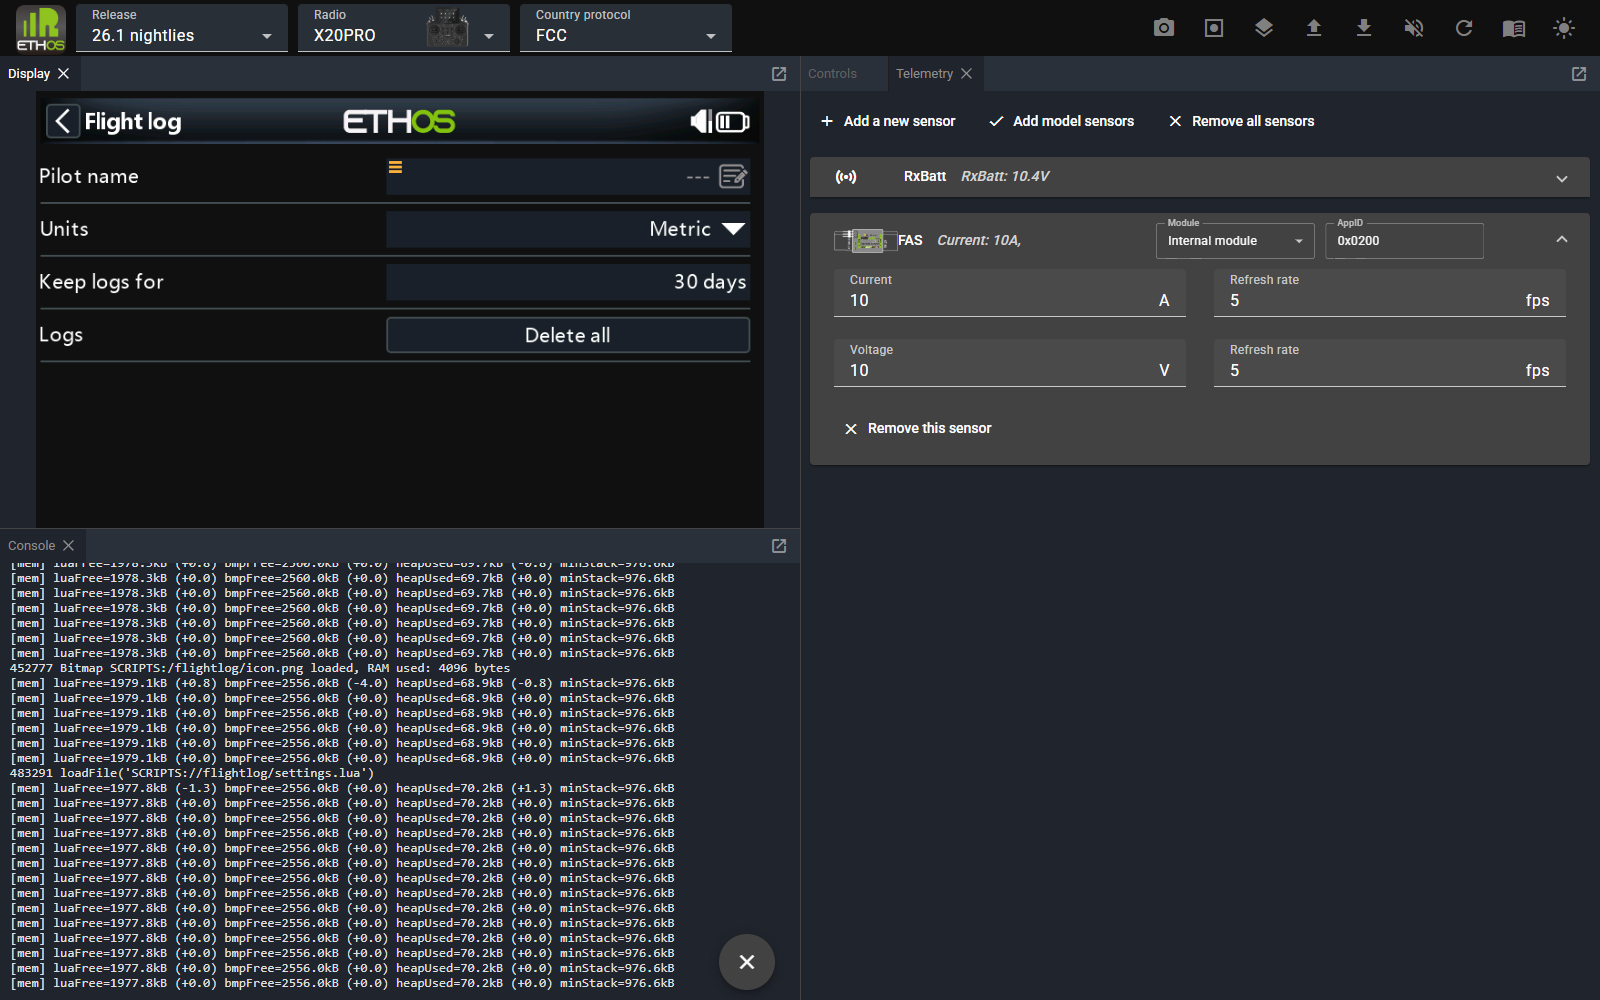
The console below shows the memory monitor task's print() output every five seconds, after it was switched on under Model → Lua:
Telemetry sensors, here a receiver voltage and an FAS current sensor:
Code explorer, showing an installed script and its compiled main.luac:
Upload and Download menus
| Upload | Download |
|---|---|
Model file (.bin) |
Current model (.bin), or edit it as JSON |
| Radio backup | Radio backup (.zip) |
Audio pack (.zip) |
All screenshots |
Lua plugin (.zip) |
Telemetry settings (.json) |
| CSV translations | |
| JSON telemetry file | |
Start a macro (.zip) |
The toolbar also has screenshot, recording, audio on/off, restart, documentation and light/dark mode.
Testing across radios and versions
Switching the release lets you check a script against the firmware your users run. Switching the radio checks layout on different screen sizes.
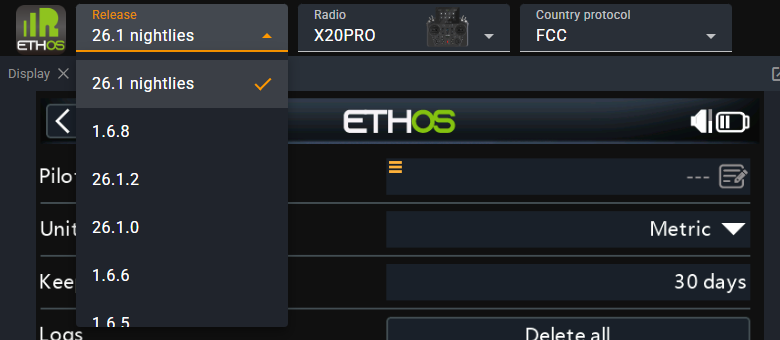
Two habits:
- Test on the smallest screen you support (X18 family, 480×320) as well as the largest.
- Before relying on a new API, check its since version on its API page, then load an older release in the simulator to confirm your fallback works.
Command-line and AI use
The same WebAssembly builds can run headless from a terminal with ethos-tools, which also lets an AI agent drive the radio.